janome my excel 18w manual
Janome My Excel 18W Manual: A Comprehensive Guide
This guide offers detailed instructions for the Janome My Excel 18W, covering setup, operation, troubleshooting, and accessing digital or printed manuals.
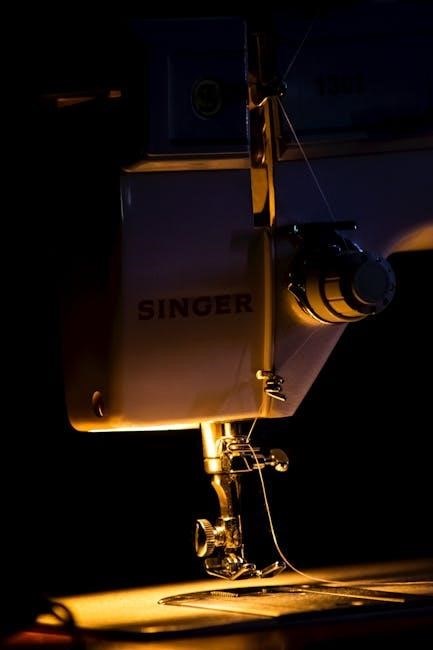
The Janome My Excel 18W (MW3018) is a robust, mechanical sewing machine designed for consistent, high-quality stitching. Known for its durability and precision, it’s an excellent choice for both beginners and experienced sewers. This machine, often considered equivalent to the HD3000 Aust model, delivers professional results with everyday use, thanks to Janome’s renowned stitch mechanism.
A key feature setting it apart is the foot pressure adjustment, allowing precise control to suit various fabric types – a feature commonly found in older, mechanical machines. Accessing a comprehensive instruction manual, available as a digital PDF download or a printed, comb-bound version, is crucial for maximizing the machine’s potential and confidently addressing any operational questions or maintenance needs.
Key Features and Benefits
The Janome My Excel 18W boasts several key advantages. Its mechanical design ensures reliability and longevity, capable of handling daily sewing tasks with consistent stitch quality. A standout benefit is the adjustable foot pressure, providing tailored control for diverse fabrics – a feature often missing in modern, affordable machines.
Furthermore, readily available operator’s instruction manuals, both as instant PDF downloads and printed copies, empower users to fully utilize the machine’s capabilities. These manuals facilitate troubleshooting and potentially save on service costs. The machine’s ease of use, combined with accessible support resources, makes it ideal for all skill levels.
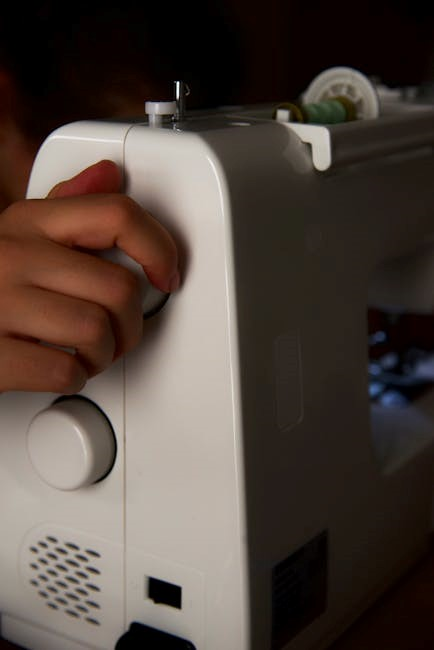
Understanding the Machine Components
The Janome My Excel 18W, while mechanically simple, comprises essential components for effective sewing. Familiarizing yourself with these parts, detailed within the operator’s manual, is crucial. Key elements include the power switch, handwheel, stitch length and width dials, and the reverse stitch lever.
Understanding the bobbin winding mechanism and how to correctly thread the machine – instructions found in the downloadable PDF manual – are fundamental. The presser foot, changeable for various applications, and its attachment point are also vital. Proper knowledge of these components, as outlined in the instruction manual, ensures smooth operation and longevity.

Setting Up Your Janome My Excel 18W
Proper setup involves threading, bobbin winding, and presser foot attachment – all clearly explained in the Janome manual, available as a digital download.
Threading the Machine
Threading the Janome My Excel 18W is a fundamental skill, detailed within your operator’s instruction manual. Begin by ensuring the machine is powered off and the presser foot is raised. Follow the numbered diagram in the manual, guiding the thread from the spool pin, through the tension discs, and down to the needle.
The manual emphasizes the importance of correctly seating the thread in each guide to ensure proper stitch formation. Pay close attention to the take-up lever, ensuring the thread is properly engaged. A digital version of the manual, available for instant download, provides a visual aid for this process. Incorrect threading is a common cause of sewing issues, so refer to the manual frequently until comfortable with the procedure.
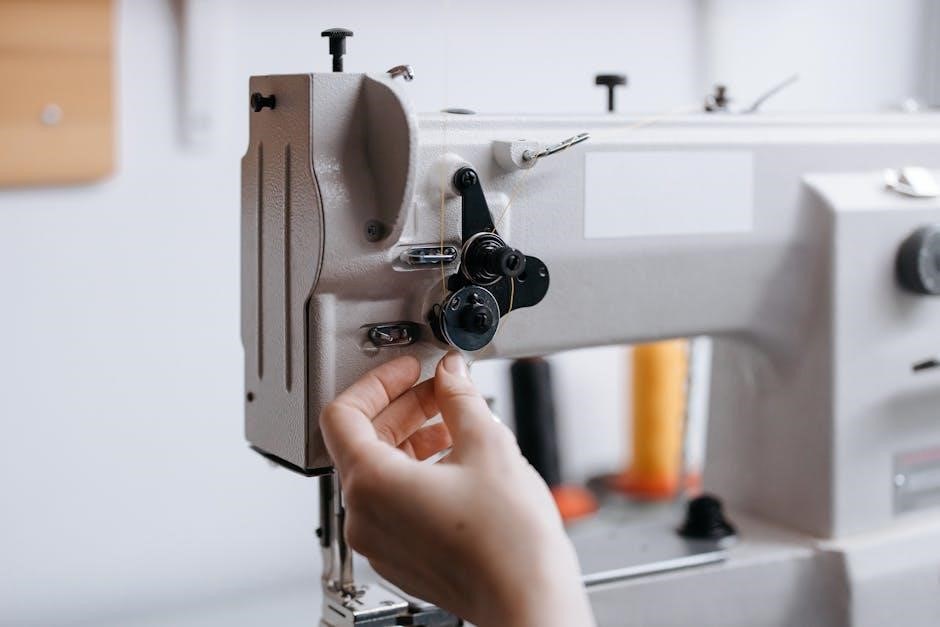
Winding the Bobbin
Winding the bobbin on your Janome My Excel 18W is clearly illustrated in the operator’s manual. First, place the spool of thread on the spool pin. Next, guide the thread through the designated tension disc for bobbin winding. Attach the empty bobbin to the bobbin winder spindle, ensuring it clicks into place.
Engage the bobbin winder by pushing it to the right. Press the foot pedal to begin winding; the machine will automatically stop when the bobbin is full. The manual stresses the importance of not overfilling the bobbin. A downloadable PDF version of the manual offers a visual guide, while a printed, comb-bound version is also available for purchase.
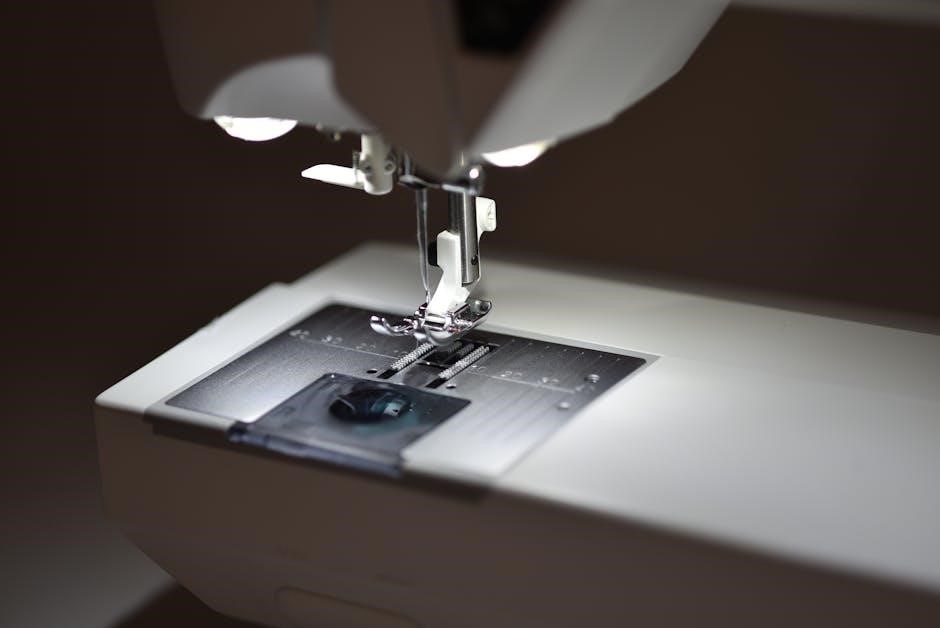
Attaching the Presser Foot
Attaching the presser foot to your Janome My Excel 18W is a straightforward process detailed in the machine’s manual. Begin by ensuring the presser bar is raised to its highest position. Locate the presser foot holder and gently lift the existing foot using the thumb screw.
Align the desired presser foot with the presser foot holder, sliding it down until it clicks securely into place. Tighten the thumb screw to firmly secure the foot. The manual emphasizes using the correct foot for the intended stitch and fabric. Both digital PDF and printed versions of the manual provide clear diagrams illustrating this process.
Basic Sewing Operations
Mastering fundamental techniques like straight and zigzag stitching, alongside stitch length and width adjustments, unlocks the Janome My Excel 18W’s full potential.
Straight Stitching
The Janome My Excel 18W excels at creating consistent, reliable straight stitches – the foundation of most sewing projects. Begin by selecting the straight stitch option on your machine, typically indicated by a straight line symbol. Ensure your fabric is positioned correctly under the presser foot, aligning the edge with your desired seam allowance.
Slowly depress the foot pedal to initiate stitching, guiding the fabric gently. Avoid pulling or pushing the fabric, allowing the machine to feed it evenly. For longer seams, maintain a consistent speed and keep your eyes focused slightly ahead of the presser foot.
Practice on scrap fabric first to familiarize yourself with the stitch length and tension settings. Adjust these as needed to achieve a balanced and professional-looking seam. Remember, a properly executed straight stitch is crucial for garment construction and various crafting applications.
Zigzag Stitching
The Janome My Excel 18W’s zigzag stitch offers versatility for various applications, from finishing raw edges to creating decorative elements. Select the zigzag stitch setting, usually represented by a zigzag line symbol, and adjust the stitch width and length according to your project needs. A narrower width is ideal for reinforcing edges, while a wider width creates bolder designs.
Practice on scrap fabric to determine the optimal settings. When stitching, guide the fabric smoothly, allowing the machine to form the zigzag pattern. Zigzag stitching is particularly useful for stretch fabrics, preventing fraying and adding flexibility to seams.
Experiment with different width and length combinations to achieve unique effects. This stitch is also excellent for appliqué and decorative embellishments.
Adjusting Stitch Length and Width
The Janome My Excel 18W allows precise control over stitch length and width, crucial for adapting to different fabrics and project requirements. Stitch length is adjusted using a dial or buttons, with shorter lengths for delicate fabrics and finer details, and longer lengths for heavier materials and quicker seams.
Similarly, stitch width controls the breadth of stitches like zigzag. Wider widths are suitable for decorative applications and stretch fabrics, while narrower widths reinforce edges. Always test settings on scrap fabric before starting your project.
Refer to the manual for specific recommendations based on fabric type and desired stitch appearance. Proper adjustment ensures stitch quality and fabric compatibility.

Advanced Techniques & Features
Explore foot pressure adjustments, reverse stitching capabilities, and the versatility offered by utilizing a range of compatible presser feet with your Janome.
Foot Pressure Adjustment
The Janome My Excel 18W distinguishes itself with a feature often absent in affordable machines: precise foot pressure adjustment. This allows users to tailor the pressure exerted by the presser foot to the specific fabric being used. Historically, mechanical sewing machines always included a dial for manual adjustment, and Janome has retained this valuable control.
Adjusting foot pressure is crucial for optimal stitch quality. Lighter fabrics require less pressure to prevent puckering or damage, while heavier fabrics need more pressure to ensure consistent feeding. Experimenting with the dial allows you to achieve professional-looking results on a wide variety of materials, maximizing the machine’s capabilities and ensuring beautiful, even stitches every time.
Reverse Stitching
The Janome My Excel 18W incorporates a reverse stitch function, essential for securing seams at the beginning and end of a sewing line. This prevents unraveling and adds durability to your projects. Typically activated by a lever or button near the handwheel, engaging reverse stitching allows the machine to sew backward.
Utilizing reverse stitching correctly involves sewing a short distance backward, then forward again, repeating this a few times to firmly anchor the thread. This technique is vital for creating strong, lasting seams. The manual provides detailed guidance on effectively using this feature for various fabrics and sewing applications, ensuring professional-quality finishes.
Using Different Presser Feet
The Janome My Excel 18W’s versatility extends through its compatibility with various presser feet, enabling specialized sewing techniques. While the standard foot handles everyday tasks, optional feet unlock a wider range of possibilities. These include a zipper foot for precise zipper insertion, a buttonhole foot for consistent buttonholes, and an overlock foot for finishing raw edges.
The manual details how to correctly attach and utilize each presser foot, maximizing the machine’s capabilities. Proper foot selection is crucial for achieving optimal results with different fabrics and projects. Exploring these options significantly enhances your sewing experience and allows for greater creative freedom.
Troubleshooting Common Issues
This section addresses frequent problems like needle breakage, thread bunching, and power issues, offering solutions found within the Janome My Excel 18W manual.
Needle Breaking
Frequent needle breakage with your Janome My Excel 18W can be frustrating, but often has a simple solution detailed in your machine’s manual; First, ensure you’re using the correct needle type and size for your fabric weight – a fine needle on heavy material will snap easily.
Secondly, verify the needle is inserted correctly, fully pushed up into the needle clamp. An improperly seated needle is vulnerable. Also, check the needle plate; a damaged or incorrectly installed plate can cause issues. Finally, confirm your thread tension is appropriately adjusted. Excessive tension puts strain on the needle. Refer to the manual’s diagrams for proper threading and tension settings to avoid future breaks and maximize your sewing experience.
Thread Bunching
Thread bunching under the fabric is a common issue with the Janome My Excel 18W, and the manual provides troubleshooting steps. Often, this indicates a problem with the upper threading – ensure the thread is correctly seated in the tension discs and properly threaded through the take-up lever.
Additionally, re-thread the bobbin and verify it’s inserted correctly, with the thread running in the right direction. Incorrect bobbin insertion is a frequent cause. Check your thread tension; too loose or too tight can lead to bunching. Finally, clean the bobbin area to remove lint and debris. Consult the manual’s diagrams for correct threading and tension adjustments.
Machine Not Powering On
If your Janome My Excel 18W isn’t powering on, the manual suggests several checks. First, ensure the power cord is securely plugged into both the machine and a working electrical outlet. Test the outlet with another device to confirm it’s functioning. Next, examine the foot controller; a faulty controller can prevent power-up.
The manual also advises checking the machine’s internal fuse (if applicable – consult the diagrams). If the fuse is blown, replace it with the correct amperage. Avoid attempting repairs beyond these basic checks; contact a qualified technician for more complex issues. Refer to the manual for specific fuse location details.
Manual Resources & Downloads
Find downloadable PDF versions of the Janome My Excel 18W manual online, or purchase a printed, comb-bound copy for convenient, offline reference.
Finding the Digital Manual (PDF)
Locating a digital copy of the Janome My Excel 18W (and MW3018LE) manual is readily achievable through several online platforms. Etsy offers instant digital download options, providing PDFs viewable on various devices – computers, tablets, and smartphones.
This accessibility allows for convenient access to instructions anywhere, with the option to print a physical copy if desired. These PDF manuals comprehensively cover operation and maintenance.
Searching online marketplaces and the Janome website itself may also yield results. Remember to verify the manual corresponds to your specific model (MyExcel 18W or MW3018LE) to ensure accuracy and avoid confusion. Having a digital manual readily available can significantly aid in troubleshooting and maximizing your sewing machine’s potential.
Printed Manual Availability
For those preferring a physical copy, printed Janome My Excel 18W (and MW3018LE) operator’s instruction manuals are available for purchase. Platforms like eBay currently list comb-bound printed manuals, offering a tangible resource for sewing guidance.
Quantities may be limited, as indicated by listings showing only a few available. These printed versions provide a traditional approach to referencing instructions, eliminating the need for digital devices during sewing sessions.
Checking with local sewing machine retailers or Janome dealers might also reveal availability. A printed manual can be particularly useful for quick reference and avoiding screen fatigue while working on projects.
Online Support and FAQs
Beyond the downloadable PDF manual, numerous online resources support Janome My Excel 18W users. While a dedicated Janome FAQ section specifically for this model isn’t prominently featured, general sewing machine FAQs often address common issues.
Etsy listings for the digital manual highlight its accessibility on various devices – computers, tablets, and phones – enabling on-the-go support. Online sewing communities and forums are invaluable for troubleshooting and sharing experiences with other owners.
Searching online using specific error messages or issues encountered can often yield helpful solutions from experienced users. Remember to consult the manual first!
Maintenance and Care
Regular cleaning and oiling ensure optimal performance of your Janome My Excel 18W, extending its lifespan and maintaining stitch quality.
Cleaning the Machine
Maintaining a clean sewing machine is crucial for smooth operation and longevity. Before cleaning, always disconnect the power. Use a soft brush to remove lint and dust from the bobbin area, feed dogs, and around the needle plate. A small vacuum cleaner with a brush attachment can also be helpful.
Wipe down the exterior of the machine with a slightly damp cloth. Avoid using harsh chemicals or abrasive cleaners, as these can damage the finish. For stubborn grime, a small amount of sewing machine oil on a cloth can be used cautiously. Regularly clean the bobbin case and shuttle hook to prevent oil buildup and ensure proper stitch formation. Remember to oil the machine after cleaning, as detailed in the next section.
Oiling the Machine
Proper lubrication ensures the Janome My Excel 18W operates smoothly and quietly. Use only sewing machine oil – never oil, grease, or other lubricants. Oil key points after cleaning: the bobbin race, shuttle hook, presser bar, and any areas indicated in the manual. Apply a small drop of oil to each point, then rotate the handwheel to distribute it.
Avoid over-oiling, as excess oil can attract lint and cause problems. Wipe away any excess oil with a clean cloth. Regular oiling, typically every few months with moderate use, prevents wear and tear on moving parts. Consult your manual for specific oiling instructions and diagrams for your model.
Long-Term Storage
Preparing your Janome My Excel 18W for extended storage requires a few key steps. First, thoroughly clean the machine, removing lint and dust from all areas, including the bobbin case. Lightly oil the machine as described in the maintenance section to prevent corrosion.
Cover the machine with a dust cover or place it in its original box. Store it in a cool, dry place, away from direct sunlight and extreme temperatures. Avoid storing it in damp basements or hot attics. Before resuming use, re-oil the machine and test it on scrap fabric.